
Looking for the Office 2016 version? Try Accessible PowerPoint presentations in Office 2016
Accessibility Checker
The Microsoft Office suite (Word, Excel, Power Point) provides a built-in accessibility validator. The checker does not identify all issues but looks for things such as missing alternative text, duplicate slide titles and potential reading order issues.
How to use the Accessibility Checker:
- On the File Tab > Info > Check for Issues > Check Accessibility
- Review the results in the Accessibility Checker pane
- Address the listed issues. Helpful information to understand and fix the different issues is provided at the bottom of the pane

The Accessibility Checker is also located on the Ribbon under the Review tab > Check Accessibility. Activate the “Keep accessibility checker running while I work” check box in the checker pane to keep track of accessibility issues in real time.
PowerPoint structure
Design themes
The slide theme or template has a large effect on accessibility. The Design tab contains many built-in Themes and colour Variants that can be used to change the look of a presentation. PowerPoint also offers the ability to create custom themes.
Choose themes that meet colour contrast requirements and that have simple backgrounds making them easier to read. If the presentation will be viewed on a projector, the contrast and readability may need to be even more pronounced than on a computer monitor.
Slide title
Give every slide a unique title. People who have vision loss or learning / cognitive disabilities rely on slide titles to navigate. For example, by skimming or using a screen reader, they can quickly scan through a list of slide titles and go right to the slide they want.
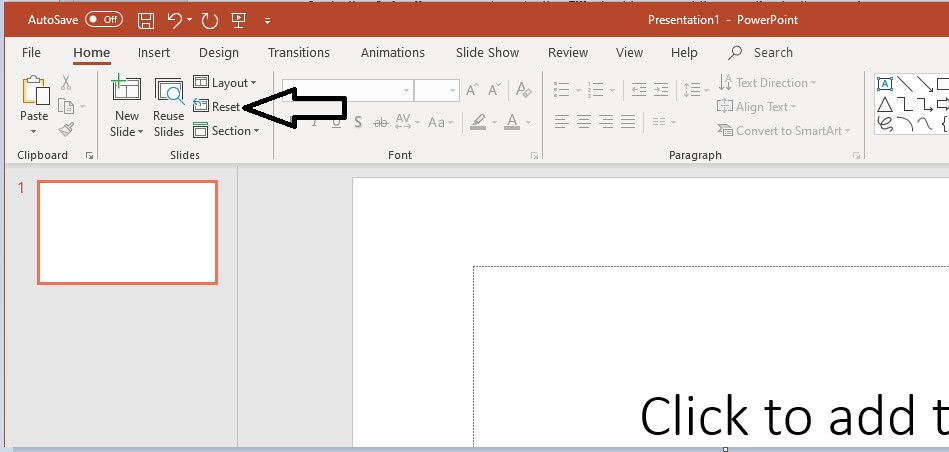
- To restore all placeholders for the selected slide, on the Home tab, in the Slides group, select Reset
- On the slide, type a unique and descriptive title
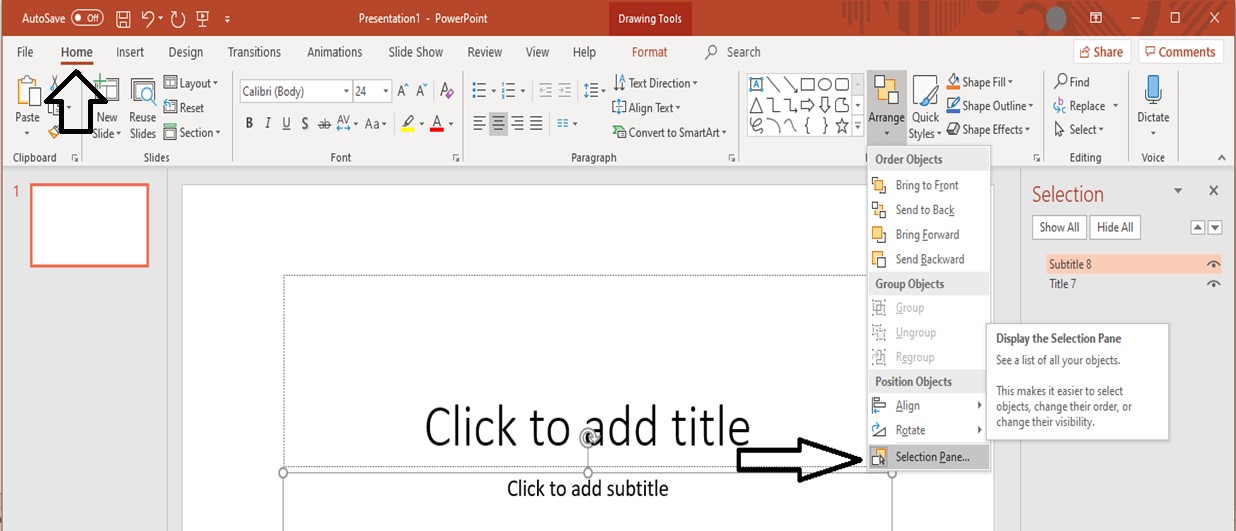
To make a title invisible on the slide, but still voiced by screen readers:
- The Home tab, in the Drawing group, select Arrange
- In the Arrange menu, select Selection Pane
- In the Selection pane, locate the Title text box, and then activate the eye icon next to it
Text structure
Text formatting
Ensure that the type is large enough to read easily. If your presentation will be viewed via projector, the type should be larger than on printed handouts.
Recommended formatting to improve legibility:
- 30-point type
- Sans-serif fonts, such as Arial, Helvetica, Verdana, or Calibri
Three to seven bullet points per slide is a good rule of thumb.
Avoid using all capitals or excessive italics or bold.
Ensure there are blank spaces between sentences or paragraphs.
Headings
Ensure headings and labels are descriptive and unique. Section headings facilitate navigation and comprehension of presentations. To evaluate headings:
- Determine if headings and labels are provided
- Are the headings descriptive?
- Are the headings and labels unique?
- Are the headings provided using titles and sub-title placeholders?
To verify that headings and labels have been properly structured, navigate on the Home tab to Slides, select Slide Layout. Verify that the slide layout matches the layout on the current slide.
Reading order
By default, a screen reader will read the slide title first, followed by other content in elements defined in the slide layout. Then it will read any additional content on the side in the order it was added to the slide. If you add content with this principle in mind, it should be presented to screen reader users in a logical order.
Use the Selection Pane to set the order in which the screen readers read the slide contents. The Pane will show every object on the slide. Highlighting an object in the pane will also highlight it in the slide.
To check the reading order:
- Click in the blank space just outside the slide.
- Press the “Tab” key repeatedly. The order in which objects are selected should match the logical reading order.
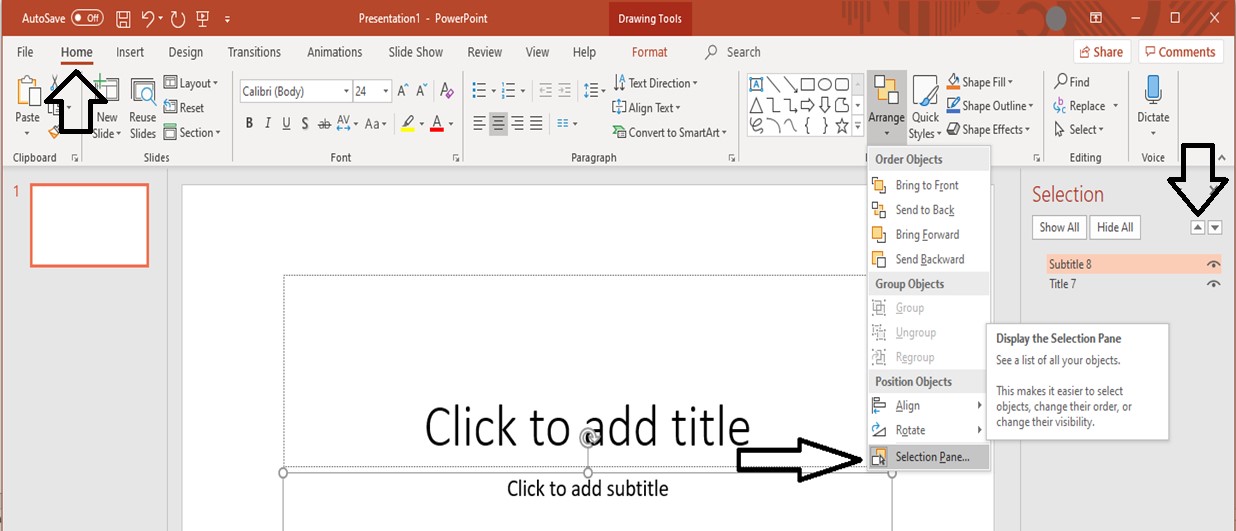
To change the reading order:
- On the Home tab, in the Drawing group, select Arrange
- In the Arrange menu, select Selection Pane
- In the Selection Pane, to change the reading order, do one of the following:
- Drag and drop items to the new location
- Select the item and then select the Up arrow button (Bring Forward) or Down arrow button (Send Backward)
Tables
PowerPoint allows you to identify a single row of column headers and a single column of row headers.
Most screen readers do not identify table headers in PowerPoint, but we still recommend going through this process. It is important to identify headers visually. These headers will be maintained when saving to PDF.
To identify table headers:
- Focus the table by clicking inside or tabbing to the content. The Table Tools options should appear and the Design tab should be open
- If the top row of the table contains headers for each column (most tables do), make sure the Header Row checkbox is checked
- If the first column of the table contains headers for each row, make sure the First Column checkbox is checked
- In the Table Styles section, select a style where the table headers are clearly identified visually. Make sure the style has good contrast
Visuals and alternative text (“alt text”)
Use alt text to describe pictures, images, graphics, graphs, tables, and flowcharts, so that a screen reader can access them.
Alt text should always communicate the purpose of visual images accurately and succinctly. In general, it is a short description of the image that answers the question “What information is this image conveying?”. A longer description may be needed for complex diagrams and images. General guidelines for creating alt text include:
- Don’t repeat the text of an adjacent caption. Screen readers read both the caption and the alt text, so avoid having the same details in both.
- Use punctuation for full sentences
Images
PowerPoint presentations usually include images. Images need equivalent alternative text. To add alt text to an image:
- Select the image
- Open the Format tab in the ribbon
- Activate the Alt Text tool
- If an image conveys no meaningful information (i.e. it is decorative or redundant) check “Mark as decorative”
- If the image is meaningful, convey in words the meaning, function, or purpose communicated by the image
- Activate the Close button
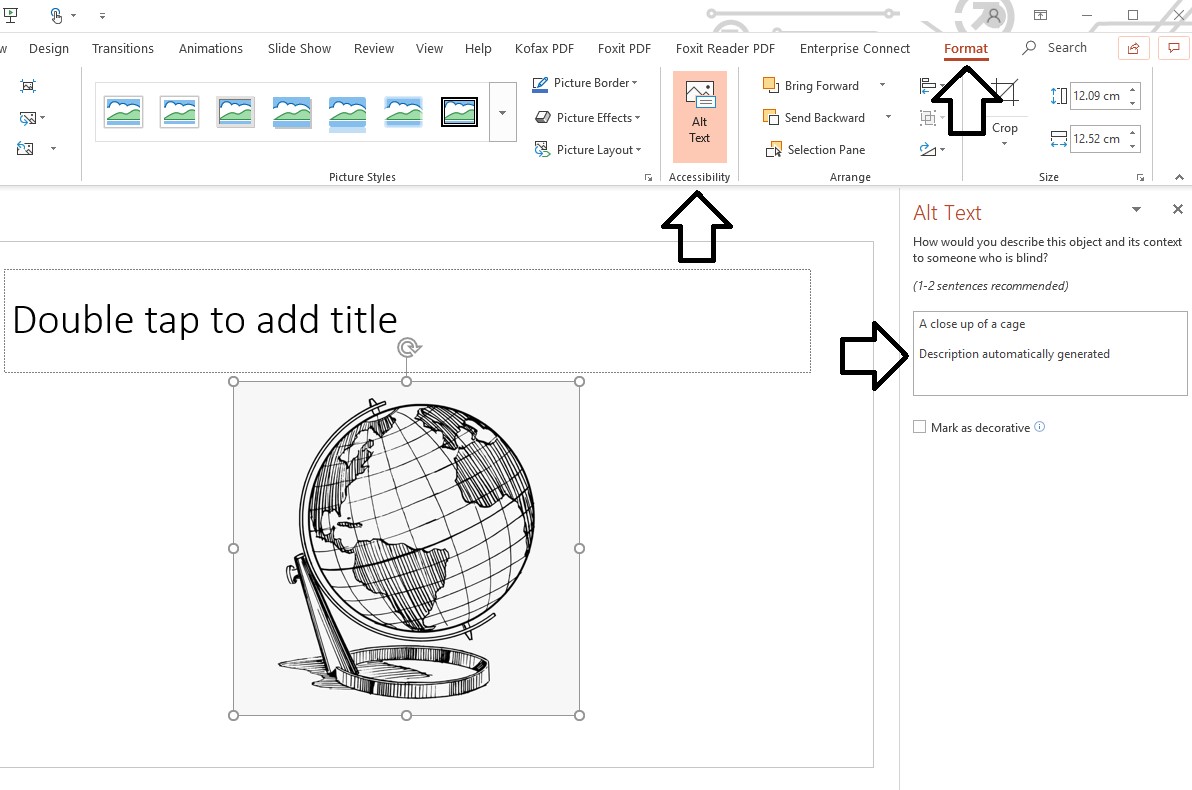
Be sure to check and update any automatically generated alternative text for images.
Tips and Guidelines:
- Don’t begin with the words “Image of” at the start of the alt text. Screen readers tell the user that there is an image and then read the alt text.
- Do begin with “Screenshot of…” if the image is a screenshot
SmartArt graphics (charts and diagrams)
Ensure complex images and charts provide long descriptions. Complex images include schematics, plans, diagrams or any other image that conveys a large amount of information. This is necessary as users who cannot see the complex image will not be able to sufficiently determine its value/purpose.
To add a long description to a diagram or chart:
- Open the context menu for the chart/diagram and activate Edit Alt Text
- The Alt Text sidebar will appear
- Provide a meaningful long description
- Describe the title of the chart / diagram
- The role it plays in the document
- The relationship of elements in the correct order
- Activate the Close Button
Ensure that colour is not being used as the only way information is being conveyed in any graphics.
Video and audio
PowerPoint 2016 supports the playback of video with multiple audio tracks. It also supports closed captions and subtitles that are embedded in video files.
Supported video formats for captions and subtitles vary depending on the operating system that you’re using. Each operating system has settings to adjust how the closed captions or subtitles are displayed. Embedded audio also requires a transcript. Closed captions typically also describe audio cues such as music or sound effects that occur off-screen.
Video description means audio-narrated descriptions of a video’s key visual elements. These descriptions are inserted into natural pauses in the program’s dialogue. Video description makes video more accessible to individuals who are blind or visually impaired. Subtitles typically contain a transcription (or translation) of the dialogue.
If you embed video, make sure that the player controls — start, pause and stop — are accessible using the keyboard.
Additional features
Transitions and animations
It is best practice to keep any transitions and animations simple and brief. Complex or automatic transitions and animations can be distracting or add a layer of further comprehension that is unnecessary.
Limiting the use of transitions and animation to one per slide will help to improve the usability of your presentation for screen reader users. If you must use Animations in your PowerPoint presentations, they should be made accessible.
In addition, you should carefully consider your use of decorative animations. Constant motion on the screen may cause a screen reader to refresh frequently, thus making the presentation more difficult to use. Keeping animations to a minimum or eliminating them altogether will increase the accessibility of your content.
Grouping elements
Grouping visual elements such as images, shapes, or SmartArt should generally be avoided as it changes the information that will be read by screen readers.
However, if it is more meaningful to group elements that have a relationship, there are techniques to do so. When using the Group feature to combine visual elements, ensure that sufficient alt text is used to indicate any conveyed information to the user. Correspondingly, if the grouped elements are purely decorative, indicate this in your alt text by marking it as such.
- Select the visual elements you want to group together while holding down CTRL
- Open the context menu and activate Group
Alternatively, you can select the elements you want to group and on the Drawing Tools > Format tab, activate Group > Group
Additional resources
- Web AIM: Creating Accessible PowerPoint Presentations
- Microsoft: How to Make Your PowerPoint Presentation Accessible
- Queen’s University: Accessible PowerPoints Checklists
Looking for the Office 2016 version? Try Accessible PowerPoint presentations in Office 2016
Page details
- Date modified: